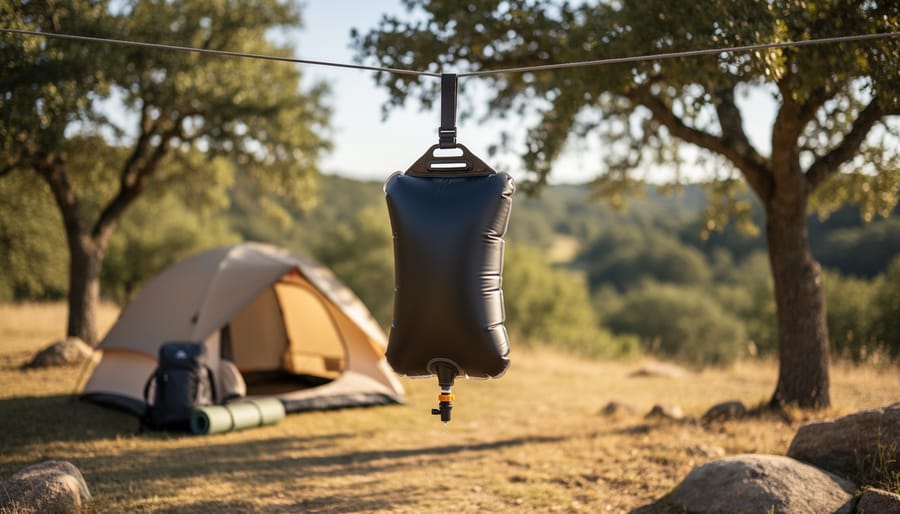
A solar shower at camp is simple: fill a black or dark-panel bag with water, set it in direct sun for two to four hours, hang it high, and you’ve got a warm shower without burning a drop of fuel. Difficulty is easy. The only real prerequisite is a clear, sunny stretch of afternoon.
Here’s why it works. Dark material absorbs sunlight and converts it to heat, which warms the water inside through a process called solar thermal gain. On a bright, warm day, a standard 5-gallon bag can climb into the 90s to 100s Fahrenheit, which is plenty comfortable. Cloud cover, cold air, and a half-filled bag will all slow that down.
I’ve tested solar shower setups on everything from breezy ridgelines to shaded creek campsites, and the difference between a lukewarm trickle and a genuinely hot rinse almost always comes down to timing, placement, and a few small habits. The water can also get hotter than you expect, so safety matters as much as comfort.
Below, you’ll find the gear you need, safety checks, the exact steps in order, and a quick way to verify your water is ready. It’s cleaner, quieter, and a lot more satisfying than a cold rinse, and the sun does all the work.
How a Solar Shower Works (and What It Can Realistically Do)
A solar shower is a clever bit of low-tech physics. The bag is usually two-toned: one side is dark, often black, and the other is clear. That dark side does the heavy lifting. This is called black-panel heating, meaning the dark surface soaks up sunlight and turns it into heat, which then passes into the water inside. The clear side, known as clear-side transparency, lets sunlight pass straight through to reach that dark panel instead of bouncing off, so you lay the bag with the clear side facing up. If you’re curious about the bigger picture, our guide on how solar energy works explains why sunlight can be turned into usable heat so easily.
Now for the honest part. Most bags hold roughly three to five gallons, which is enough for a quick rinse for one or two people, not a long soak. In strong, direct summer sun, expect a couple of hours to get comfortably warm water. In my own testing, a bag filled at noon was pleasantly warm by mid-afternoon. Cloud cover, cool air, a shady campsite, or shoulder-season sun can stretch that time a lot, and sometimes you’ll end up with lukewarm water at best.
The payoff is worth the patience. You’re heating water with free sunlight, with no propane canister, no fuel to haul, and no campfire to tend just to get warm water. It’s one small, quiet way to cut your footprint while you enjoy the outdoors.
Tools and Materials: What to Pack Before You Head Out
Choosing the Right Bag Size and Features
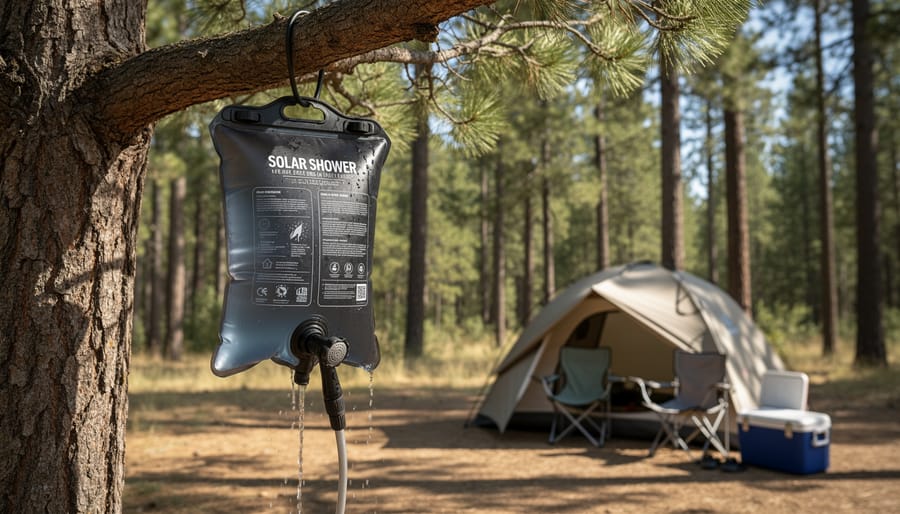
Most solar shower bags hold between two and five gallons, and that capacity decides how many people you can rinse before the water runs out. A two-gallon bag is enough for one quick rinse. A five-gallon bag can cover two or three efficient showers if everyone turns the nozzle off while soaping up.
Weight and pack size matter more than you’d expect. A full five-gallon bag weighs about 40 pounds, which is why you fill it at camp, not at home. Empty, even the biggest models fold down to the size of a paperback and weigh just a pound or so, so there’s little packing penalty for going bigger. I’d choose a larger bag for a group trip and a smaller one for solo backpacking.
After testing several bags, here’s what earned its place and what didn’t:
- A built-in thermometer is worth having, because it takes the guesswork out of scalding water.
- A sturdy, reinforced handle matters, since a full bag puts real strain on a flimsy loop.
- An on/off nozzle saves water and keeps showers efficient.
- A wide fill opening makes filling from a bucket or creek much less frustrating.
- Extra attachments like fancy spray heads or shoulder straps rarely made a difference in the field.
Skip the gimmicks and prioritize the first four. A well-built basic bag will give you hot water longer than a feature-packed one that leaks at the seams.
Safety Warnings: Scalding Water, Sun Exposure, and Leave-No-Trace Rules
Before you fill a single bag, know the stop conditions. Solar water can surprise you, and a few minutes of caution beats a trip to urgent care.
Water left in strong midday sun can climb well past comfortable, and in some conditions it gets hot enough to scald. Sunny days with a dark bag are the worst offenders. Test the water by hand every time, even if it felt perfect yesterday.
The weight is the other hazard. A full five-gallon bag weighs roughly 40 pounds, so it should never sit on a slope, a wobbly stump, or the edge of a cooler. Check that your hanging branch or hook can hold the load, and tug on the knot or carabiner before you step underneath. If anything creaks or shifts, lower the bag and find a better anchor.
You’ll also be waiting in the sun while the bag heats, so treat yourself like part of the system. Drink water, wear a hat, and park yourself in shade. Dizziness, headache, nausea, or heavy sweating are signs of heat exhaustion, and that’s your cue to stop and cool down.
Call it quits if the bag leaks or the hose or nozzle looks cracked. Hot water spraying where it shouldn’t is a nuisance at best and a burn at worst.
Finally, leave the place better than you found it. Set up at least 200 feet from lakes, streams, and trails so runoff never reaches open water. Use soap sparingly, and stick to a biodegradable option. This biodegradable soap guidance is a good reminder that even eco-friendly suds still belong on the ground, away from the water.
Step-by-Step: Setting Up and Using Your Solar Shower
Setting Up Privacy and Drainage at the Campsite
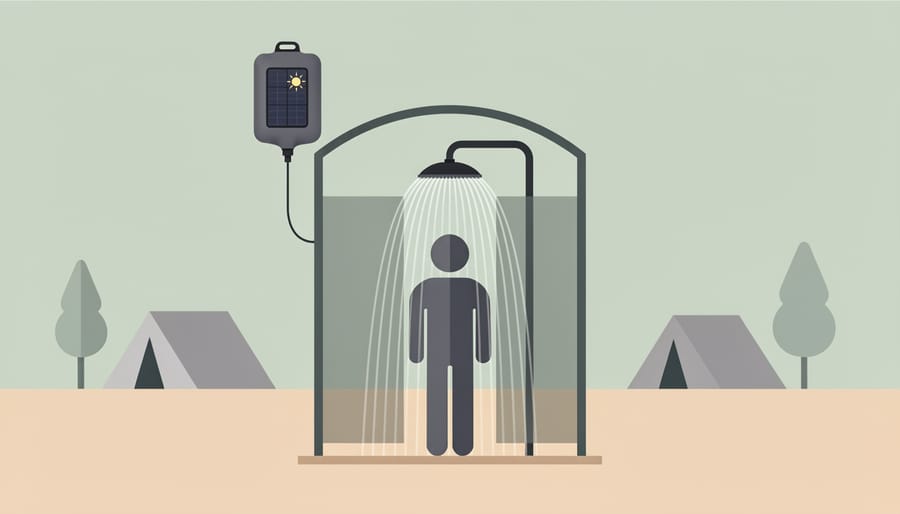
A good shower spot takes two things: a bit of cover and ground that drains. Start with privacy. A couple of trees spaced a few feet apart can hold a tarp or a wrap-around curtain, and a pop-up shelter works well if you’re car camping and have the room. Face the open side away from the trail.
For drainage, look for slightly sloped, well-drained soil or gravel rather than a hollow where water pools. Stand on a rubber mat or a few flat stones so your feet stay out of the mud, and your towel stays clean. Keep the spot at least 200 feet from lakes, streams, and trails so soapy runoff filters through soil instead of reaching the water.
Here’s the sequence I follow from fill-up to pack-up:
- Pick a level, sunny spot to heat the bag and a separate shady, well-drained spot for the shower itself.
- Fill the bag to the marked line and lay it with the black side facing the sun.
- Set up your privacy screen and mat while the water heats.
- Hang the bag from a sturdy branch or pole above head height once it’s warm.
- Test the water by hand before it touches your skin.
- Wet down, turn off the nozzle, lather with biodegradable soap, then rinse quickly to save water.
- Drain any leftover water well away from camp, then hang the bag open to dry completely.
- Pack up your mat and screen, and scatter any pooled water so the site looks untouched.
Verifying Your Results and Troubleshooting Lukewarm Water
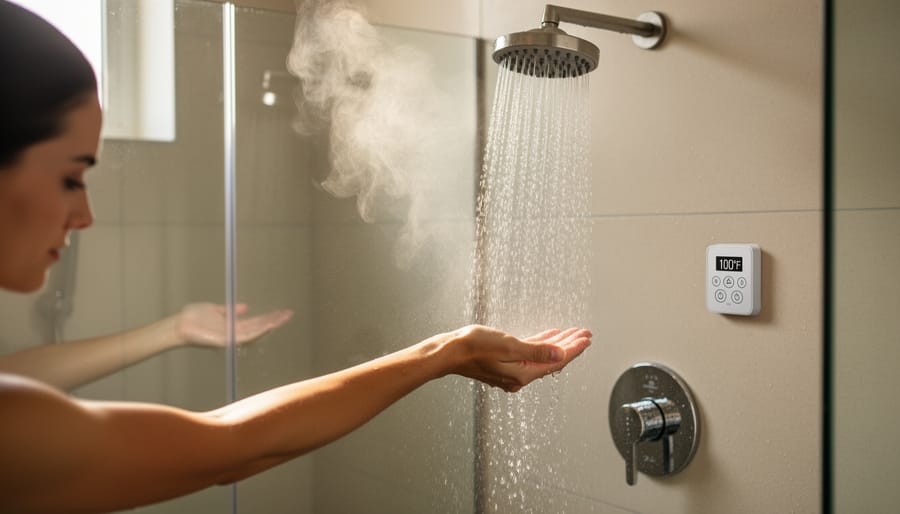
Before you step under the nozzle, confirm the water is actually ready. Most bags have a built-in thermometer, and that’s the easiest check. Aim for 95 to 105°F. Below 90°F feels like a cold rinse, and anything past 110°F is where it gets uncomfortable fast. No thermometer? Let a little water run over the inside of your wrist. It should feel pleasantly warm, not hot. If it’s cooler than you’d like, give the bag another 30 to 60 minutes of direct sun and test again.
In my own testing, a full bag on a clear, hot afternoon reached shower-ready in about two to three hours. Overcast days or cool mornings can stretch that to four hours or more, and sometimes the water just won’t get there.
If you’re stuck with lukewarm water, try these fixes:
– Cloudy weather: Lay the bag on a dark rock or a dark tarp to soak up extra heat, and start earlier.
– Cold starting water: Fill from a warm source if you can, or top off with a little water heated on the stove.
– Weak flow: Hang the bag higher and open the nozzle fully. Check the hose for kinks.
– Leaks: Tighten the cap and inspect the seams. Retire any bag that keeps weeping.
For next trips, fill the bag in the morning, shade the hose, and wrap the bag in an insulating cover once it’s warm so it holds its heat into the evening.
Solar Shower Camping FAQs
How long does it take to heat the water?
On a clear, sunny day, most bags reach a comfortable temperature in two to four hours. Check the built-in thermometer or do a hand test first, since water left in strong sun can get hot enough to scald.
Does a solar shower work on cloudy days?
It still warms, just much more slowly and less reliably. Expect lukewarm water at best, so start early and consider pre-warming your fill-up water.
How many showers does one bag provide?
A typical bag holds a few gallons up to around five, which is enough for one or two quick rinses. Wet down, turn the water off while you soap up, then rinse to stretch it further.
How do I clean and store it?
Drain it completely, rinse with fresh water, and let it air-dry fully before packing to prevent mildew. Treat it like any gear with a routine, much like solar panel maintenance where a little regular care goes a long way.
A few quick extras. Solar showers are generally safe for kids, but an adult should always test the temperature by hand before a child rinses off, and should supervise the hanging point. As for public campsites, rules vary, so check with the campground or land manager before you set up. Wherever you shower, camp at least 200 feet from lakes, streams, and trails and use biodegradable soap sparingly.
Last, a bag exposed to sun, dust, and grit does better with a gentle wipe-down now and then, the same logic that applies when you want to keep panels efficient: a cleaner surface absorbs light better. Treat it kindly and it will keep delivering free, fuel-less warm rinses for many trips to come.
A solar shower is about as simple as outdoor gear gets: fill a bag, give the sun a few hours, hang it up, and rinse with water that cost you nothing and burned nothing. No propane canister to haul out, no fire to tend, no fuel to carry home. Just sunshine doing quiet work while you set up camp or take a hike.
That’s what keeps me coming back to it after every trip I’ve tested one. The first warm rinse after a dusty day feels like a small luxury, and knowing it came straight from the sky makes it better. Fill it early, check the temperature by hand, and keep your soap biodegradable and your distance from water sources.
Try one on your next outing and see how far a little sunlight can go. If it gets you curious, there’s plenty more to explore in solar tech outdoors here at SolariFlex, from panels to portable power. Happy camping, and enjoy that warm rinse.
